Download Cursor
Getting started is simple:- Go to cursor.com and click “Download”
- Run the installer once it downloads
- Open Cursor when installation finishes
Need a specific version? Find all platforms and installation methods at
cursor.com/downloads
First-time setup
When you open Cursor for the first time, we’ll walk you through a quick setup:- Choose keyboard shortcuts that feel familiar
- Pick a theme you like
- Set up your terminal preferences
You can revisit the setup wizard anytime by pressing Ctrl+Shift+P
and searching for
Cursor: Start Onboarding.Keyboard shortcuts
See keyboard shortcuts
Themes
Selecting a theme in Cursor
Shell Commands
Install shell commands
Moving from another editor?
If you’re already using another code editor, we make it easy to switch:VS Code
Import VS Code settings directly
Jetbrains
Migration guides for JetBrains, Eclipse, Neovim, and Sublime
Language support
Cursor works with all major programming languages. Here are some popular ones with enhanced AI support: You can add support for more languages through extensions, just like VS Code.Creating your account
While Cursor works without an account, signing up unlocks all AI features:- You’ll be prompted to sign up during setup, or you can do it later in Settings (Ctrl+Shift+J)
- Once signed up, manage your account at cursor.com/dashboard
Understanding codebase indexing
When you open a project, Cursor starts learning about your code. This is called “indexing” and it’s what makes the AI suggestions accurate.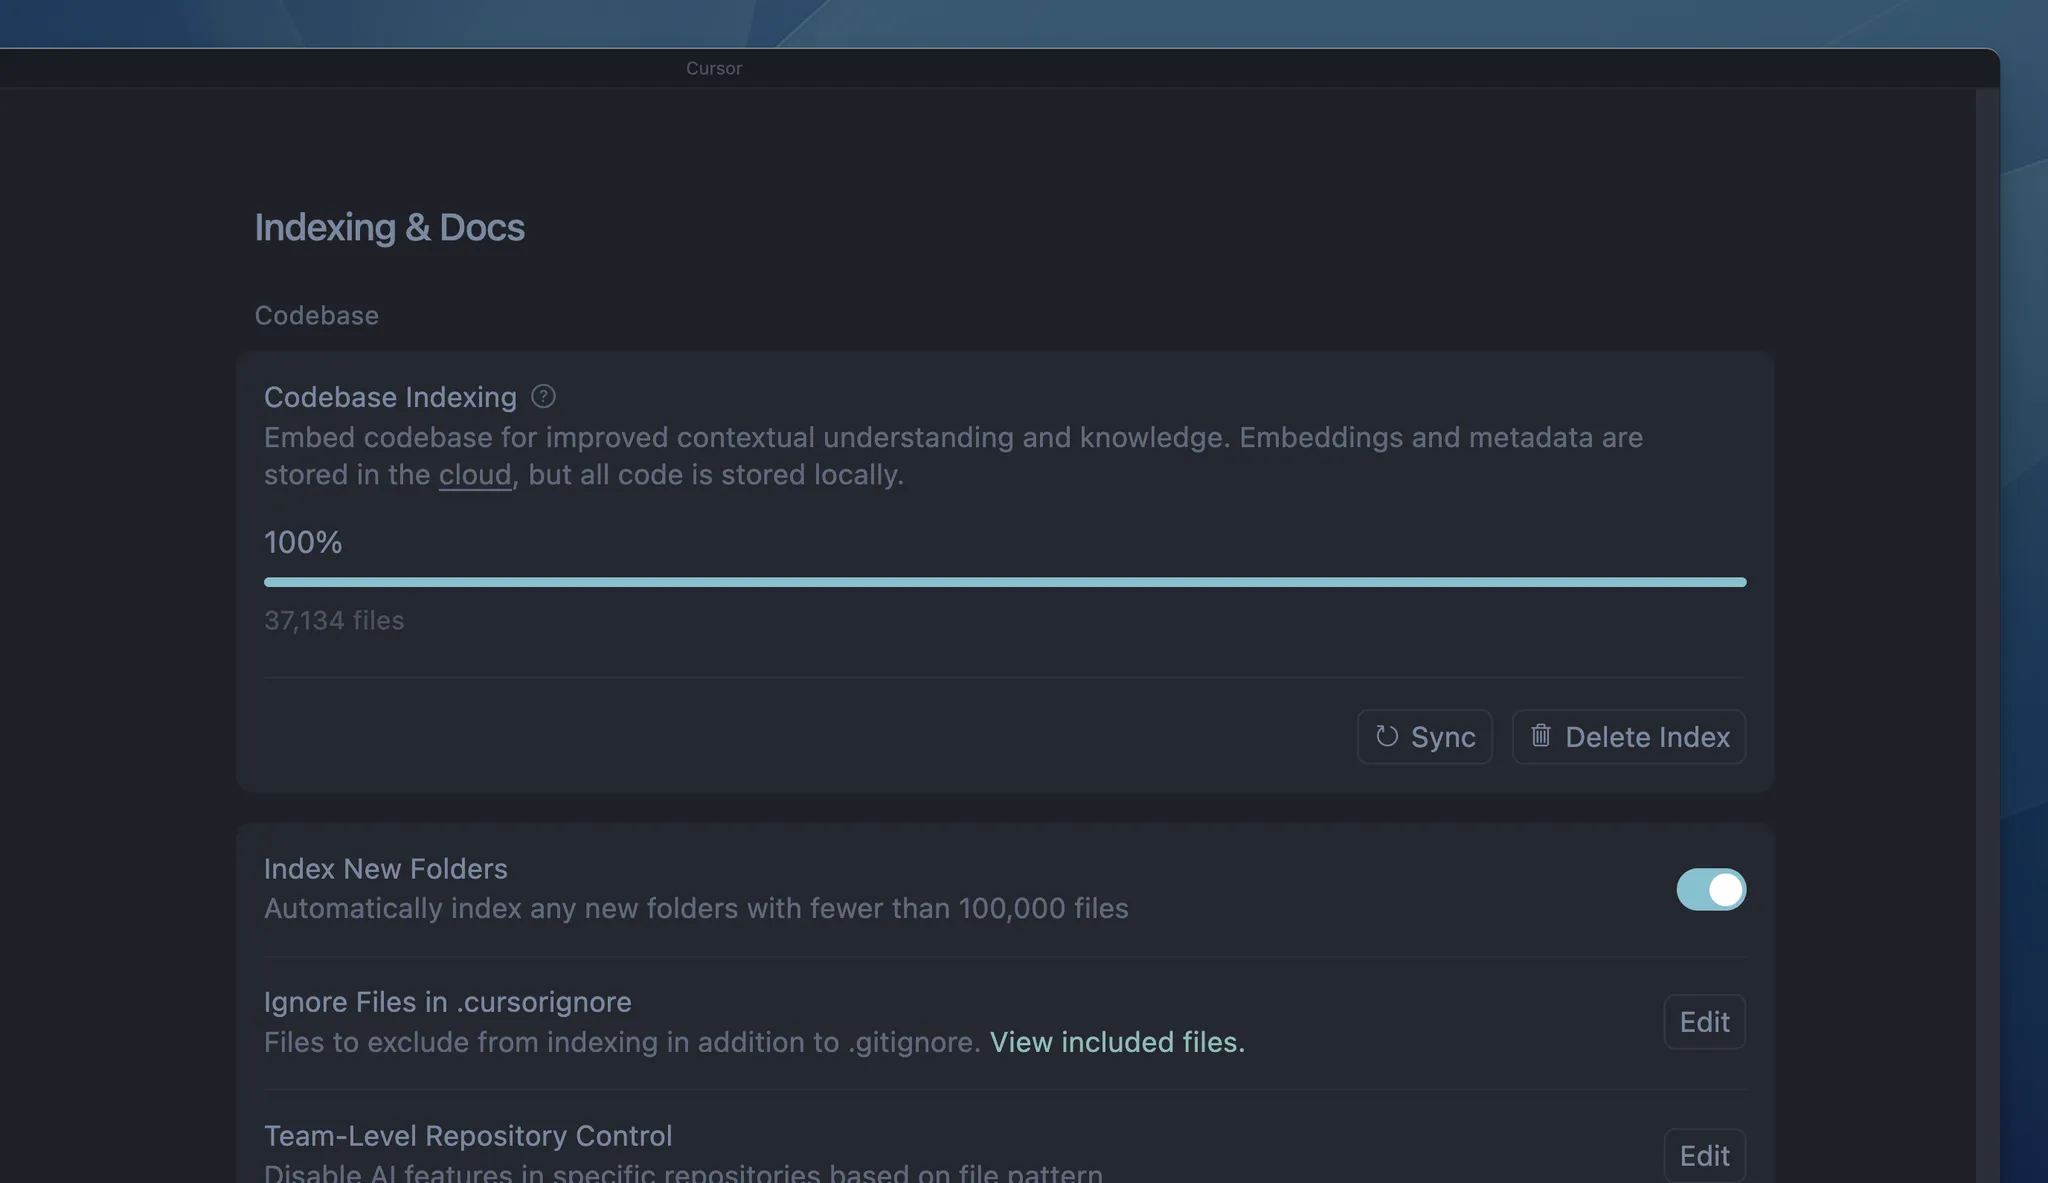
- Indexing starts automatically when you open a project
- It takes about 1-15 minutes depending on your project size
- The more Cursor learns about your code, the smarter its suggestions become
- Teams can share indexes with each other to save time
- You can check indexing progress in Settings (Ctrl+Shift+J) → Indexing & Docs
Next steps
Now that Cursor is installed, you’re ready to experience AI-powered coding:- Follow our quickstart guide to learn the basics in 5 minutes
- Read about key concepts to understand how Cursor works
- Browse guides to explore what you can build with Cursor
- If you run into issues, get help from our troubleshooting guide
- Join our community to connect with other Cursor users